Baking lightmaps using Blender
How to bake lightmaps using Blender and bring them into Unity!
This page is unfinished, but made accessible because there may be useful content or links in the Notes section.
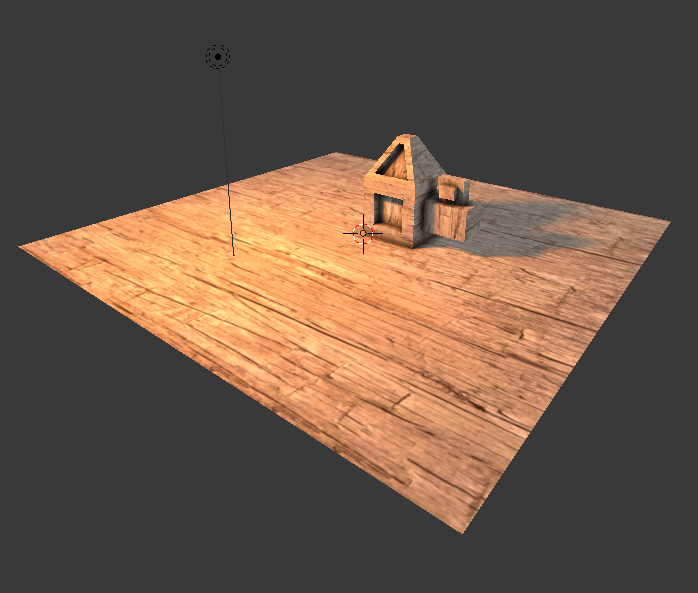
Final lightmapped objects in Blender. Two lightmaps used.
- Summary
- Create objects for baking
- UV Unwrapping
- Create empty material
- Change to Shadeless Shading Mode
- Bake Ambient Occlusion
- Bake final texture
- Notes
Summary
Here’s a quick rundown of how to do it.
- …
- …
Create objects for baking
- In Object Mode, choose Add > Mesh > Cube (if not here already).
- Add a Plane and a Point Lamp too.
- Select Plane with right-click, press S and move the mouse to scale a bit larger.
Notes
- Right-click selects things.
- Spacebar lets you search for things.
- Hold control when dragging XYZ handles to move on a grid.
- Move toolbars to the top by right-clicking and selecting Flip to Top.
UV Unwrapping
- Open the UV/Image Editor window
- Click-drag the arrow in the top-right to duplicate the window
- Select the cube icon in the top-left corner and choose UV/Image Editor
- Select the cube (Right-click in Object Mode)
- Switch to Edit Mode (Tab)
- Select all faces (A)
- In the left toolbar, choose Shading/UV’s tab (Blender 2.75+), select Unwrap > Smart UV Project
- Island Margin: 0.03
- OK
Create empty material
…
Change to Shadeless Shading Mode
If you don’t adjust your shading mode, you won’t be able to see the correct lighting.
- Change shading mode to Texture
- It’s the white circle next to “Object Mode” button.
- Change 3D view shading to Multitexture Shadeless
- Small “+” button in top-right of 3D view.
- Shading section > Multitexture, and check Shadeless.
Bake Ambient Occlusion
This stage is optional, but AO gives your objects some nice shading where their edges meet.
- Select the Cube’s faces.
- Select it and change to edit mode, then press A.
- Create a new image called Cube_AO.
- In the UV window, choose Image > New Image.
- Apply it to the Cube.
- With the cube’s faces selected, choose the image from the UV window’s drop-down menu.
Now we need to bake the AO onto this image.
Bake final texture
…
Notes
- It’s important to have the correct object selected when doing things. Blender is context/selection sensitive.
- To apply an image to faces, you must have the faces selected in Edit mode.
- When baking, you must have the object selected in Object mode.
- Doesn’t work for tiled textures where the mesh’s UV’s overlap the regular bounds.
- Tiled texturing works by scaling the UV’s to be many times larger than the image. This means they cannot be baked easily.
- https://www.youtube.com/watch?v=3jJGBzAxXKo - Modeling and Texturing a Building in Blender
- This is not how Unity and most other games do lightmapping.
- This technique is merging the lighting and diffuse textures into one single diffuse. Unity actually layers the lightmap on top, without merging. This means the lightmap can be a different resolution from the main textures.